Integrations
Jira Integration in TraqNext
Overview
TraqNext allows you to connect your Jira projects so users can track time directly on issues assigned to them. Only assigned issues are fetched, ensuring clean and accurate task visibility in the TraqNext Desktop App.
Step 1: Open Integrations in TraqNext
- Log in to your TraqNext web app.
- Go to Integrations from the right-side menu.
- Click on Integrations.
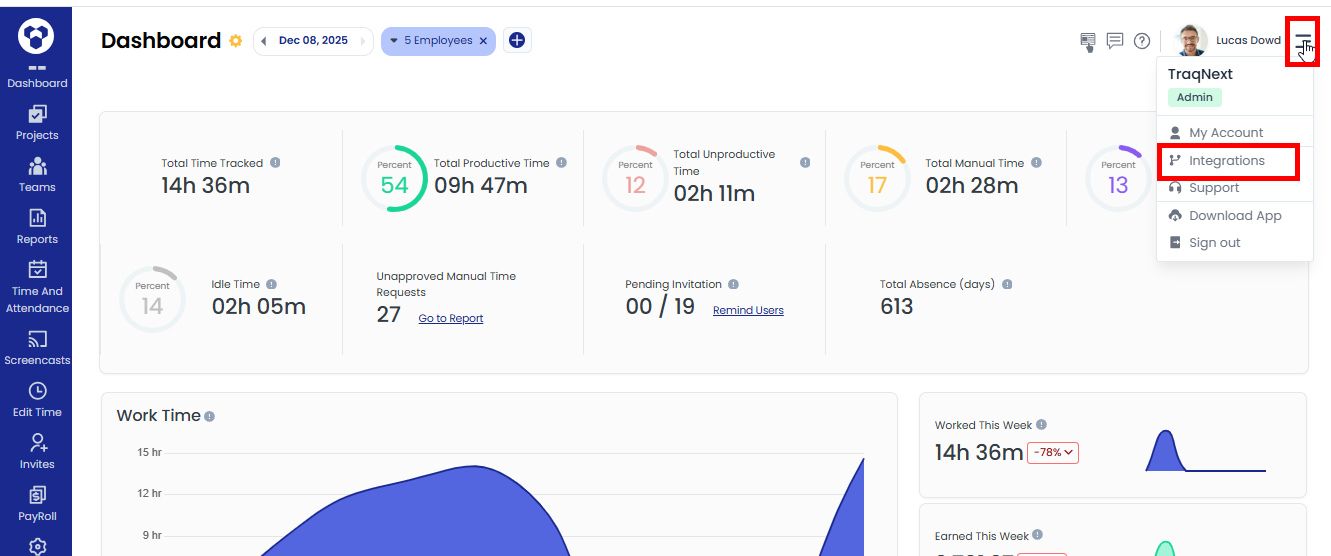
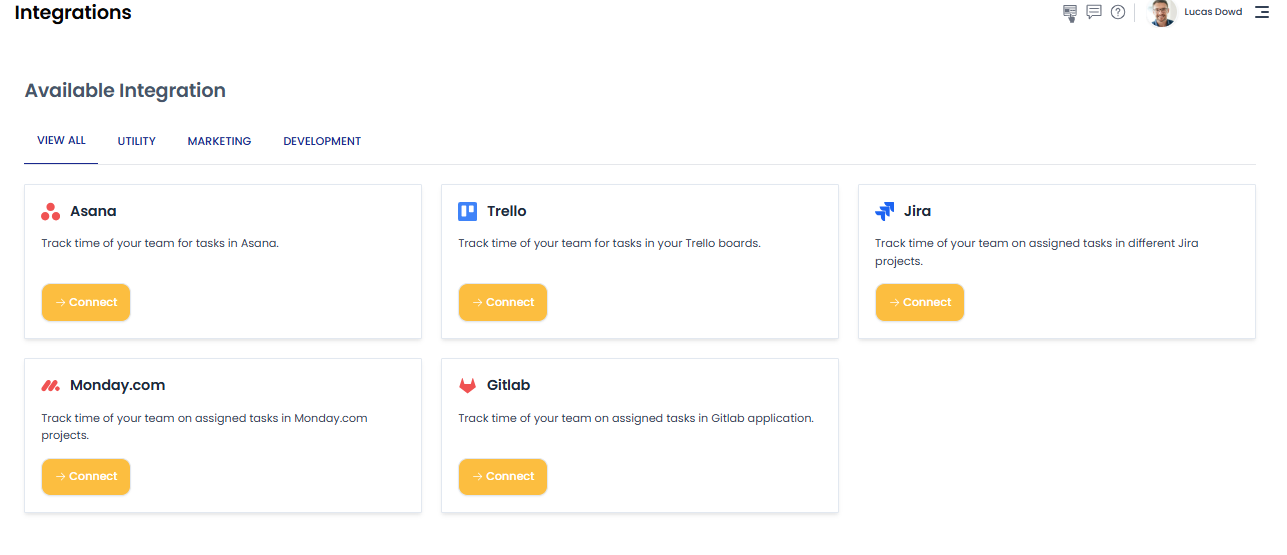
- You can see the list of available integrations.
Step 2: Connect Your Jira Account
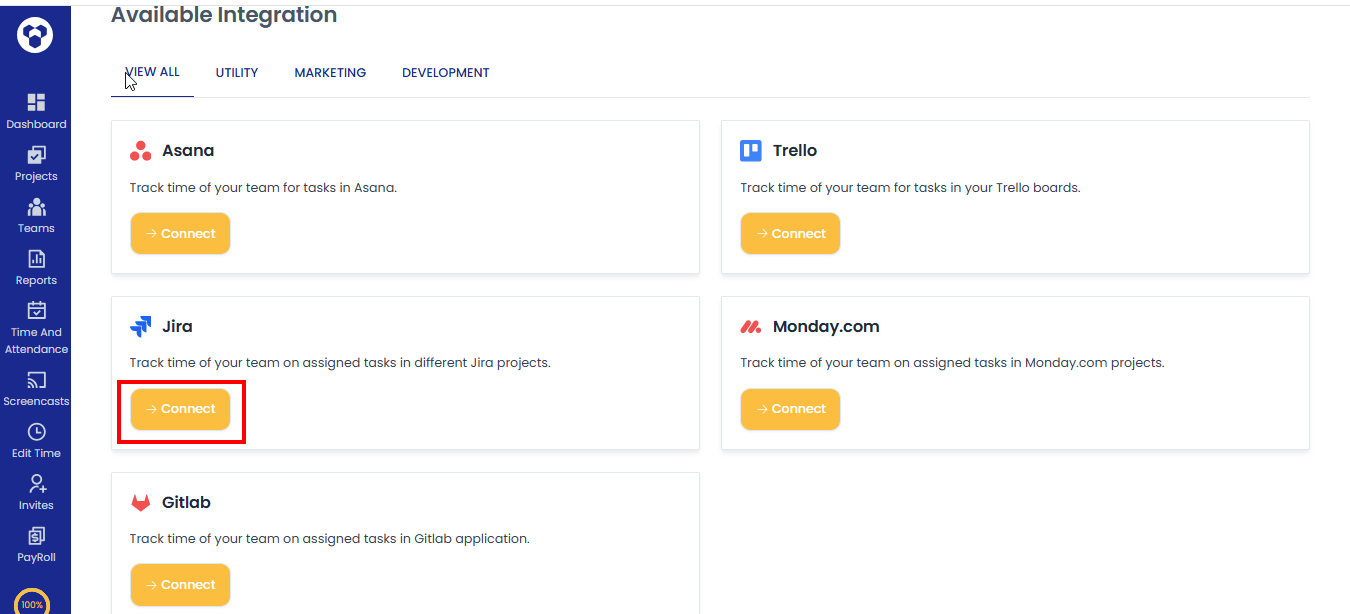
- Click on Connect button for Jira.
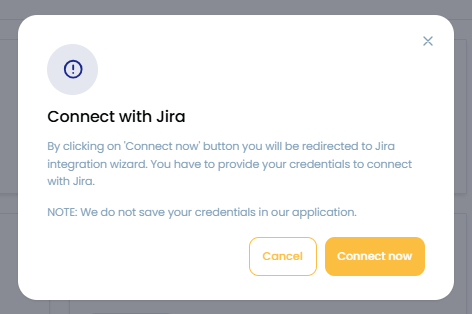
- A pop up will appear. Click on the Connect now button.
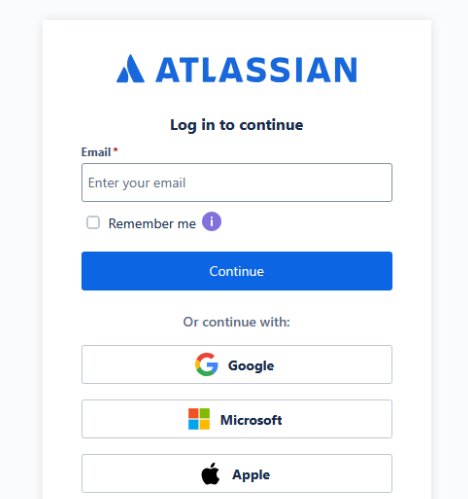
- The Jira login page will open. You will need to enter your Jira email and password.
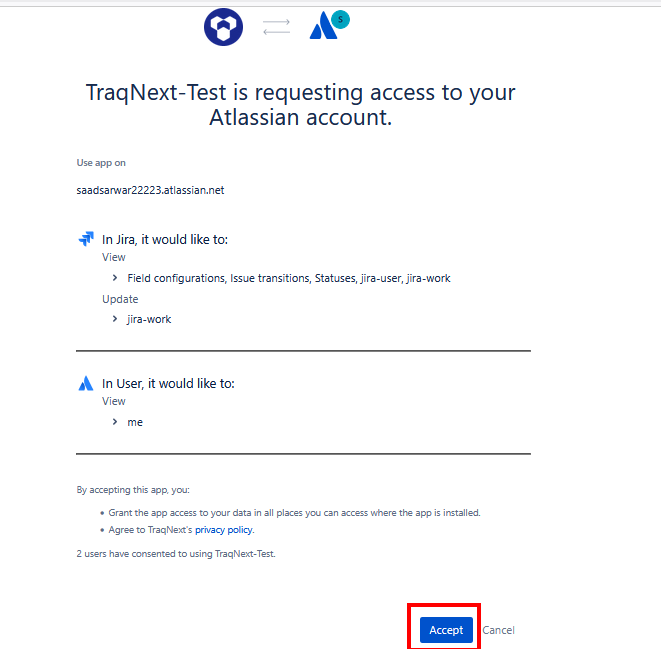
- Once you log in, you will be redirected to the authorization page. Clicks on Accept button.
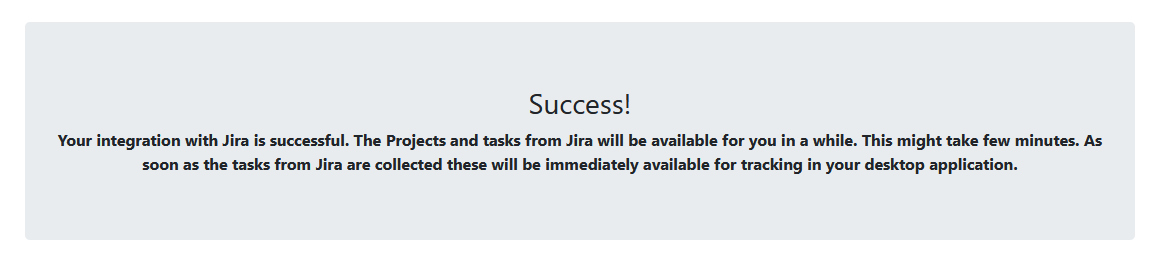
- After that, a success message will appear, and within a few moments the Jira tasks will start showing in the TraqNext desktop app.
Step 3: Task Visibility
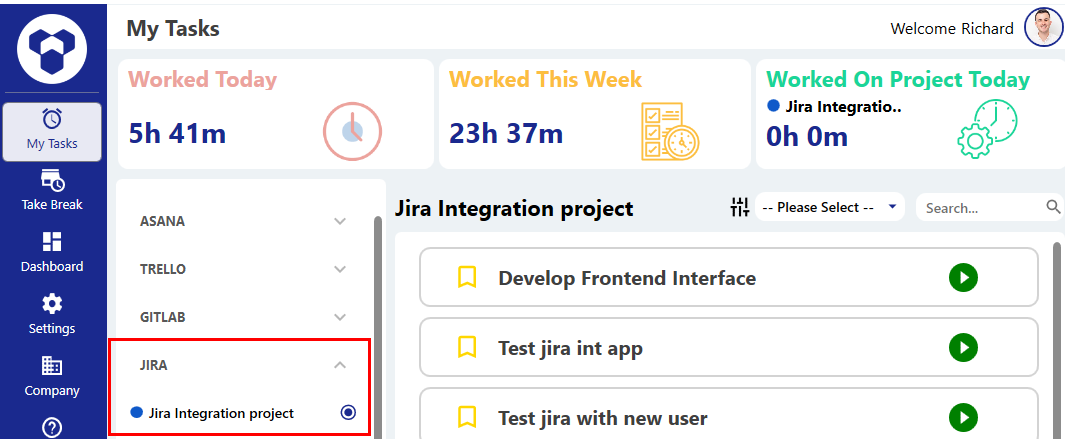
Only the Jira tasks assigned to a specific user will be fetched for that user and shown in the TraqNext Desktop App. Tasks not assigned to that user will not be fetched or appear in TraqNext Desktop app.
As you can see in the image, the projects and tasks created under the Spaces section will be synced and will appear in the TraqNext Desktop App.
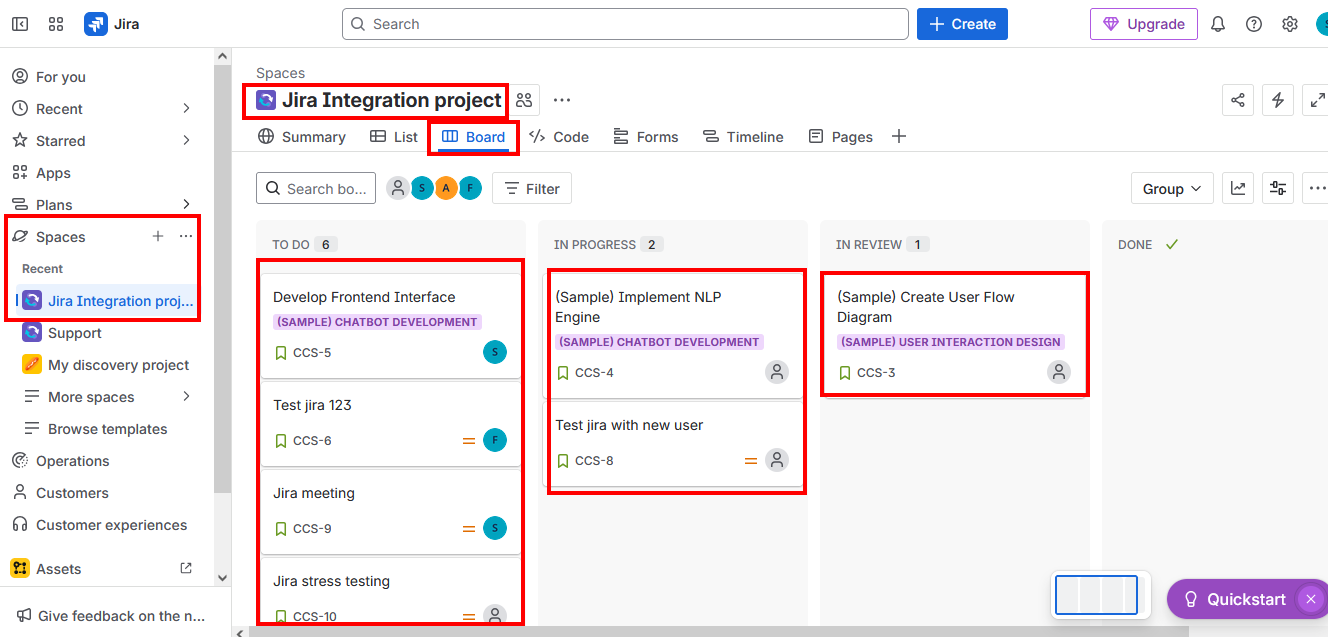
If a task is not assigned to a user, that task will not be visible to the user.

Once Jira tasks are synced and appear in the TraqNext desktop app, you can track them here
Authentication Issues & Re-Connecting
If authentication fails due to Jira’s policies, TraqNext sends you a notification email.

How to Fix it:
Simply click the Connect button again from the TraqNext Web App integration page and provide your credentials to restore the integration and fetch the latest data.